The CreateRoom Cubby, an efficient and effective storage solution to get you organized. Here’s my honest review.
Just as a disclosure: This post is in partnership with Create Room and contains affiliate links and a discount code for my community (you!). As y’all know, I only bring the real deal in crafting so this is an honest review and my own opinion. To save some money on your Cubby, use our exclusive code: COADSCUBBY.
Hey boo! Today I’m sharing a look into how I organized some of my craft supplies using the Cubby from Create Room.
You probably know Create Room because they make the epic DreamBox! I may not have a DreamBox yet, but this Cubby has sold me on anything Create Room makes. I’m excited to get the most out of my Cubby and add a DreamBox soon.
I don’t know about you but it’s hard to be creative when your craft room (or any space in your house!) is in chaos. I feel like a clean craft room reflects a clean mind, but let’s be honest – crafting is messy! Not only is crafting messy, crafting requires a lot of supplies. Some of those supplies are small and need organized. Keeping things tidy helps me be more efficient when I’m crafting because I can actually find stuff! Nothing worse than papercrafting and not being able to find your foam squares!
What comes with the DreamBox Cubby
The Cubby is a compact, storage system with multiple shelves and tote containers designed specifically for organizing all types of crafting materials. I’m talking about your Cricut or Silhouette tools, papercraft supplies, stamp needs, paper and vinyl! The totes can hold 12×12 paper – YASSSSSSSS…..!! Not only is it useful, it’s cute y’all. The totes are clear but you can add your personal touch to them – more on that later. So you’ll get a Cubby that measures 28×28.5×15. I ordered the white so that I could match it with more things based on my vision for my new craft room.

How is delivery for Create Room Cubby
Your Cubby is such a great size that the delivery person can drop your Cubby and Inview Totes off without any help from you. I went outside one day and there she was! At my front door. The Inview Totes came in their own box but I was able to lift both and bring them in. If heavy objects are an issue for you, you will need help bringing the Cubby inside. I wish I had known more about when the Cubby would be delivered because I would’ve met the delivery person at the door. I didn’t really receive any tracking updates so seeing it outside was a surprise. It came in about three weeks. Not bad, just wish I had known it was coming because it did rain that day!
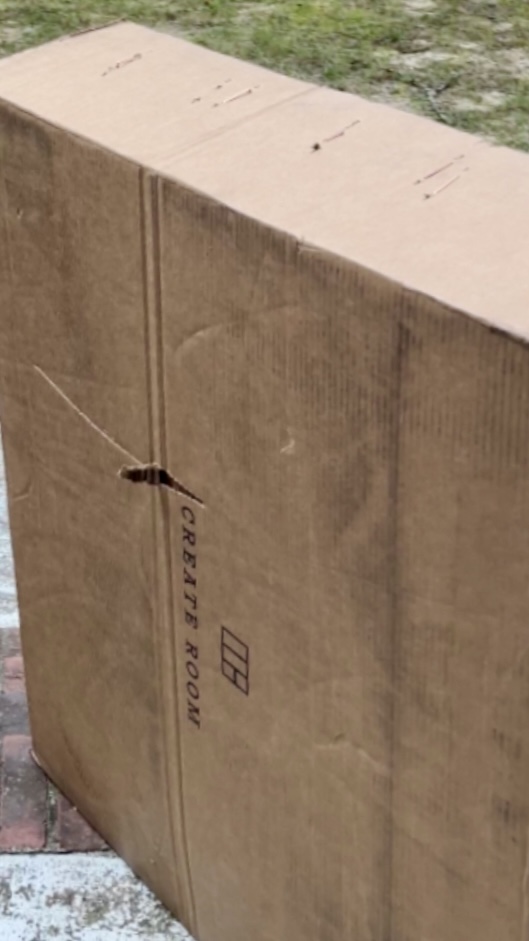
Despite the rain – the packaging was intact and everything inside was just fine!
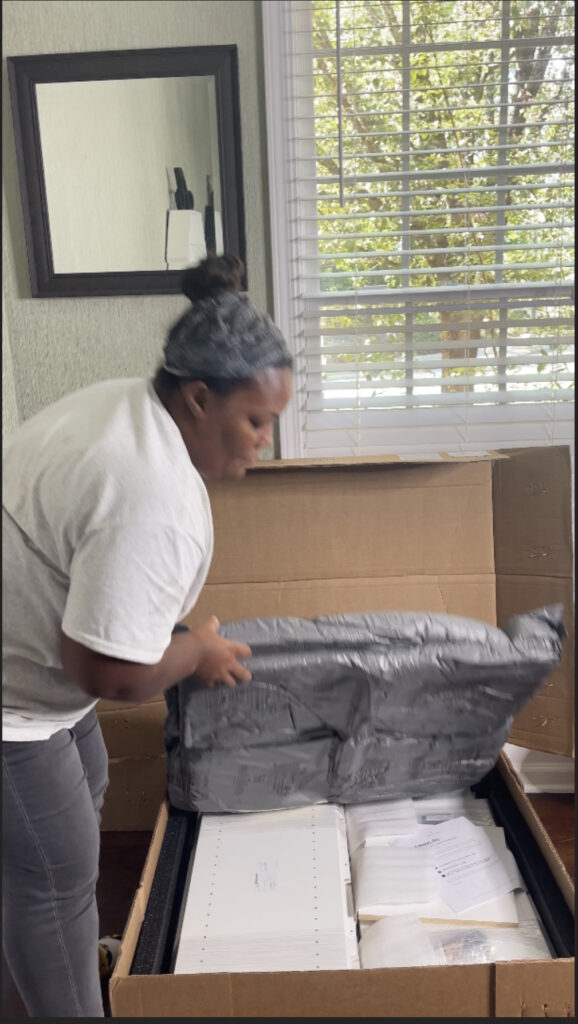
How to Assemble Create Room Cubby
Surprise surprise! The Cubby is actually easy to assemble. I assembled it myself based on the instructions included in the delivery but having another person help me would’ve made this way easier. I worked up a sweat and it took about a hour but if you’re used to putting together furniture and actually read the instructions (don’t be like me and just skim them!) you’ll probably get the Cubby assembled in under a hour. Once I took the time to read the instructions, I was moving and shaking. The Cubby comes with everything you need to put it together but you will need to have a drill and screwdriver on hand. Also will probably help to have a rubber mallet so you can make sure the sides are locked and tight. Don’t bang too hard!
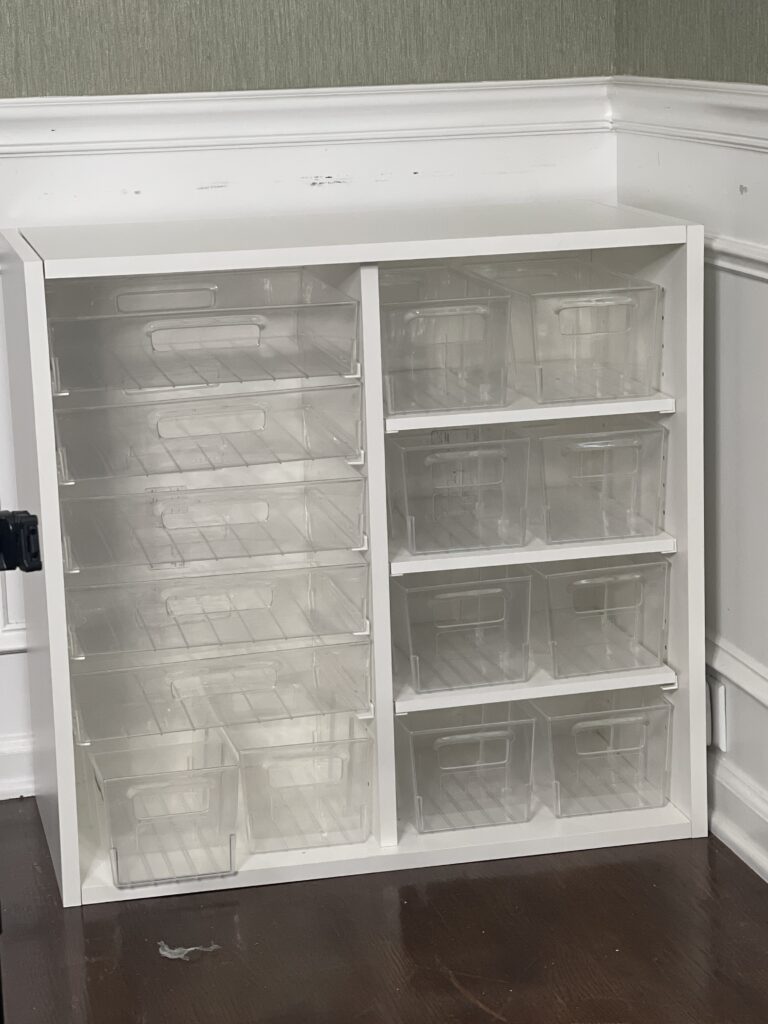
I was sweating but super excited I assembled the Cubby on my own! Call me a CHAMP! The Cubby looked goodt and really had me ready to get organized. It may sound crazy, but I immediately felt at ease and thankful to have the Cubby because I knew some sense of order could be restored in my crazy craftroom!
How to organize Create Room Cubby
As I mentioned, the Cubby comes with Inview Totes. The Totes are clear so you can see everything you put in them and they say Create Room on one end. I was so excited to organize my Cubby that I didn’t even seperate my craft supplies. I just dove straight in. You may want to plan and prepare ahead but this worked for me. It worked for me because I knew the Cubby would be the best place for small supplies and 12×12 paper/vinyl. Yup! The Inview Totes can hold 12×12 paper. I know I said that before too but finding storage for 12×12 items soothes my soul.
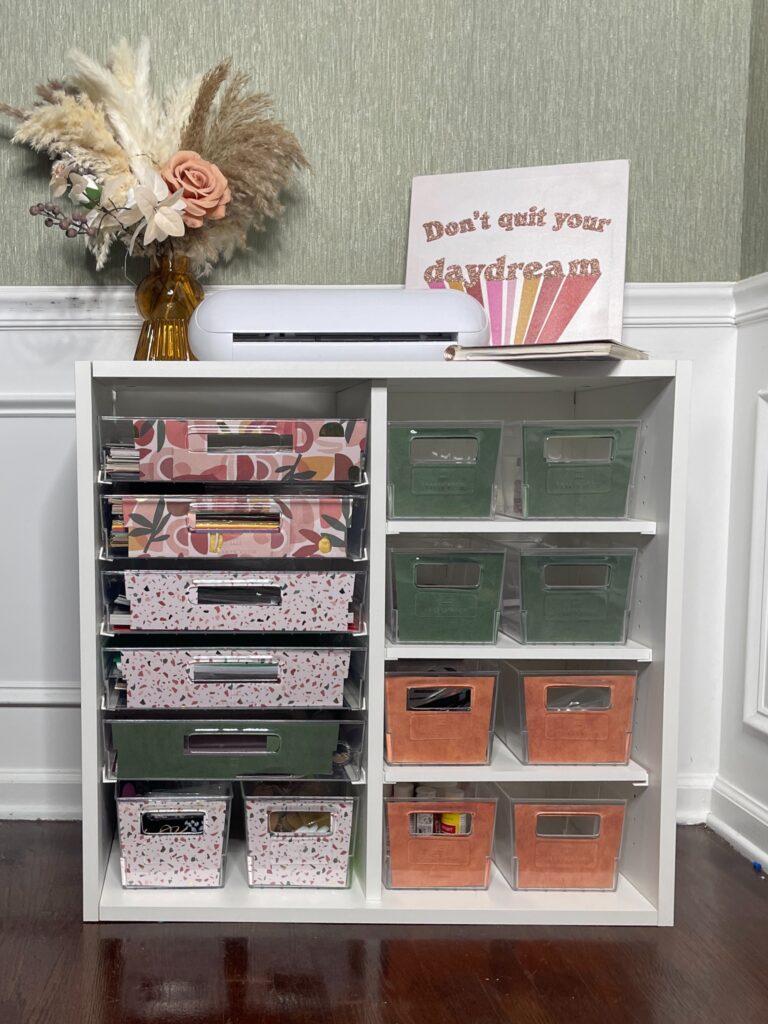
Once I got my hodgepodge of items in the totes, I realized I didn’t like the way it looked anymore. Since the Cubby Inview Totes are clear, I could see everything in them. This is one reason you may want to think through what you’re putting in the mats but don’t worry because the tote liners saved me! They will save you too. I recommend having some 12×24 paper on hand for the larger Totes. I didn’t so my liners for the 12×12 storage totes are a little short but look at how much better that before and after is! I plan to cut some vinyl on my Silhouette Portrait and label the Totes so I know what’s in each one.
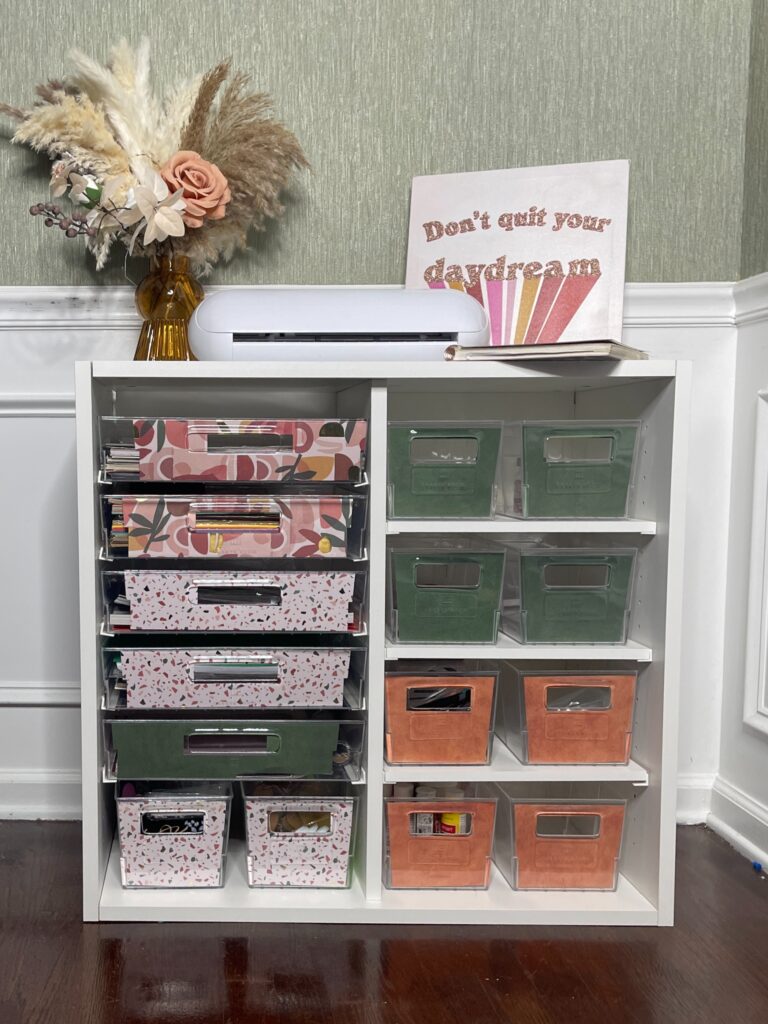
How freakin pretty right? I used a paper pad from Micheals and my Cricut Maker to cut out the liners. These colors match right up with the brand colors – on pointtttt! I also like how there’s room on top of the Cubby to fit my Silhouette Portrait (any desktop cutting machine) and some decor.
Let me know if you have any questions about the Create Room Cubby. I’m convinced I need a DreamBox2 now. I just can’t imagine how easy my craft life will be once everything in the room is organized. The Cubby is definitely a great start and product to keeping me organized completely. We deserve ease and soft life, remember that organization is a part of that.
To get your Cubby AND save $50, click here and use the code: COADSCUBBY!
Leave a Reply